This is a sponsored post which was paid for by Purolator Auto Filters, but all thoughts and opinions herein are our own.
*******
Now I know what you are most certainly thinking. I mean – I thought it too when I was approached with the opportunity to take part in this campaign. Affectionately dubbed #PurolatorKeepItPure, I/we are posting, as you’ll see, for the auto filter-maker Purolator. And truthfully – you’d be right in asking something like … “Aren’t you a home/house stuffs kinda place, and really how would something about cars fit in here?”
********
But wait – is it really all that strange? After all, I had previously made the case that home maintenance really isn’t all that different from, well, car maintenance, and further – if I look a little ways back, my car (as for so many) was in fact the first place I cut my teeth on DIY. It’s true.
And if that weren’t enough, let’s also look then at one simple fact. Purolator, if you didn’t know, invented the oil filter. Yep, right here in the USA. (idk – feels pretty Building Moxie … ish to me.) For 90 years now, Purolator filters have been trusted by both do-it-yourselfers and professionals alike.
But back to the campaign, we were to deliver two posts. For the second, I’ll tell you, I plan to change my own oil (something truthfully – I haven’t done for a while). In the first, here, which required a video, I did solicit some help. And I found the perfect fit, I think, with someone right in my camp. Nathan Deneault is a painting & construction pro – an all-around cool dude, out of, well, idk … somewhere in Kansas. Nate, and you might know him, is an aspiring movie mogul.
A quick look at his vid below will tell you why he exactly was such a good fit. In it, you’ll find everything you’ll need to know to change your own oil.
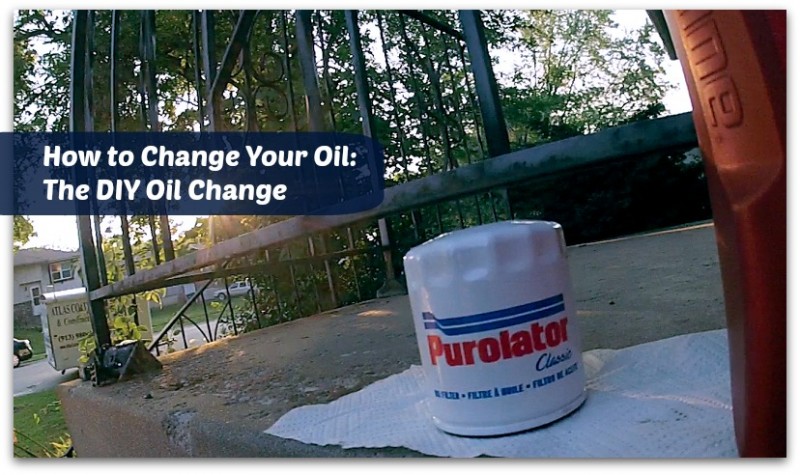
In it, Nate captures a recent oil change. For it, he selects an L10111 – Purolator Classic Oil Filter. He installs it on his 1999 Chevy S10 work truck. (You’ll even catch a few glimpses of his ladders, still mounted to his ladder rack, as he pulls up onto the ride-up ramps.)
Some keys features about Purolator Classic Oil Filters: They provide premium protection for everyday driving and offer a 97.5% efficiency rating for excellent overall engine protection. They are the ideal filter for a conventional (or synthetic blend) oil change.
*******
If viewing in an alternate form, I’m sorry, please click through to see the video.
*******
Doing a DIY Oil Change (the Work Truck Edition)
Here is a sorta step by step transcript of what you’ll find in the video above.
Note: For any oil change, it is important to buy the correct filter both for your vehicle and for the oil that you select. Nathan emphasizes how important it is to buy QUALITY OIL (in the correct “weight”) for your vehicle.
- If you have access, utilize drive-up ramps to elevate the front of your vehicle.
- Take fill cap/dipstick out to assist with draining oil.
- Put cardboard down under drain pan.
- Placed used oil pan under drain plug.
- Grab your “oil change” tool kit – including hopefully a ratcheting set with a match for your drain plug’s size.
- Remove drain plug. Let oil drain, moving your drain pan as to catch all oil while the oil is draining.
- Move used oil container to under the oil filter. (Vehicle specific. You may have to replace drain plug before doing this step.)
- Loosen oil filter with an oil filter wrench.
- Turn filter a couple times to allow oil to drain out.
- Remove filter 100% from engine area, TOP DOWN – so old oil remnants stay in it and do not end up all over your engine bay/ground.
- Check filter for old filter gasket. If there, move to next step. If not, look on engine/oil filter mount area for it. (It is not uncommon that a gasket can “cook” onto the engine. But you do NOT want 2 gaskets on there – you will lose all of your engine oil VERY QUICKLY, which could ruin your engine. BEWARE!)
- Clean the engine oil filter mount with rag to remove all debris and to again check for old filter gasket.
- Install new Purolator Oil Filter.
- Clean any spilt oil on any engine bay parts (wires/metal, etc).
- Re-install your drain plug (if you didn’t already above).
- Wipe oil pan clean, and any other area where the oil may have ran (cross members, oil filter drain channel, etc.)
- Go up top and put a funnel in oil fill tube, or valve cover.
- Fill engine with recommended amount of oil (this would be dictated by the vehicle manufacturer).
- Put dipstick back in.
- Get in vehicle and start the engine. Let run for 1 minute.
- Shut off engine.
- Get out and check for leaks.
- Remove vehicle from ramps.
- Check dipstick for proper fill amount. If low, add more oil; if level is correct; replace dipstick/filler cap and close the hood.
- Enjoy a checkmark on the “to do list”.
*******
That’s it. Thanks out to Nathan, and please subscribe to his YouTube channel. Please follow along with #PurolatorKeepItPure hashtag, myself and others should be using in popular social media like Twitter, Facebook & Google +. Thanks out to Purolator for the opportunity. ~jb
