 It started out innocently enough, as we stood together and watched a girls basketball game. And, well, you know — I am really not “out” with most people, that is – about my life as a home improvement blogger. But somehow the conversation seemed to naturally veer its way towards it. Dave had been telling me about his planning for a bathroom remodel.
Dave W. is my daughter’s soccer coach, and a dude I’ve known for some time. We attended the same high school in fact, though we did graduate one year apart. I guess he is what you would consider an average homeowner. And that evening, almost ironically, he mentioned his plans for after the game. He was going to hit the Home Depot — a quest: Find the perfect bathroom vanity.
Well, funny really, right around that time (January or so), I had been chatting with some of the friendly folks at St. Paul Home Products. They make bathroom vanities and other bathroom furniture; one place they distribute, yep, the Home Depot. Met via Twitter in 2011, St. Paul had actually submitted a guest post for us >> The Best Online Design Tools.
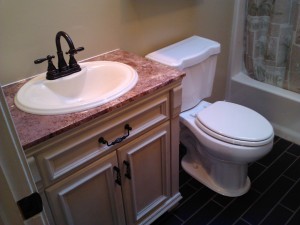
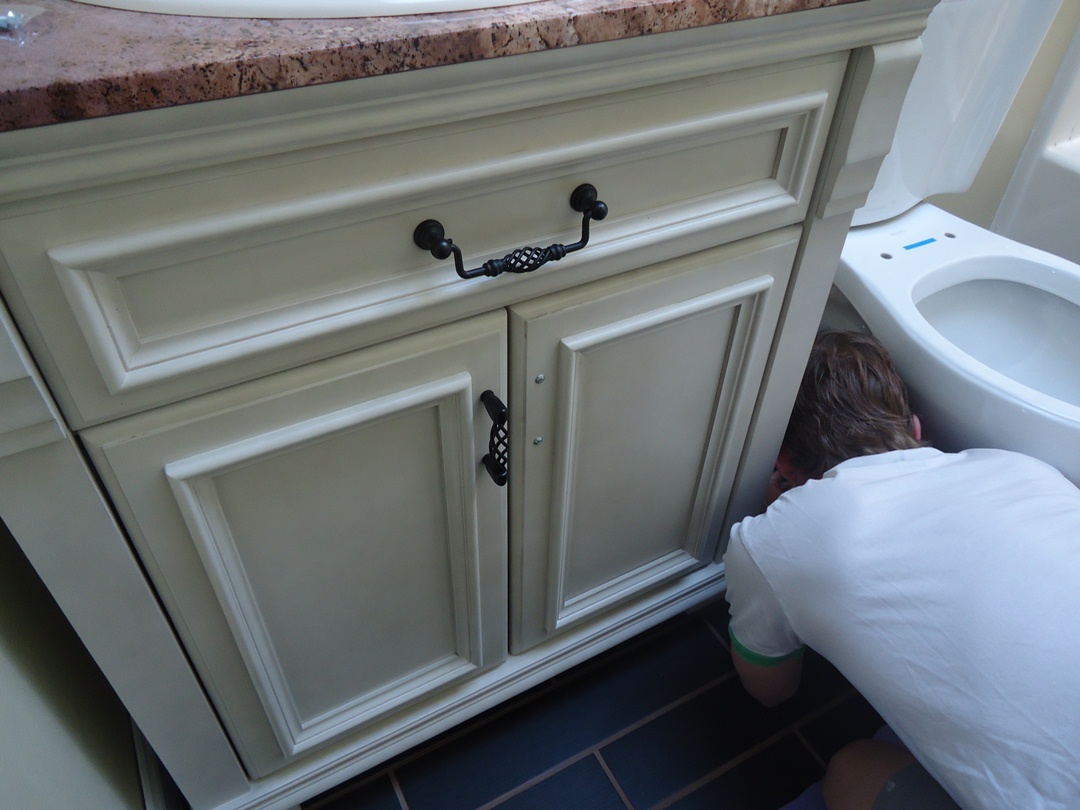
And as the story goes, I simply asked (paraphrased here): “Hey guys. Would you ever consider providing a vanity which I would install and then later document?” Well, they (St. Paul) agreed. That’s how I found myself installing a bathroom vanity, a St. Paul Home Products 30″ Classic Vanity Combo (in Antique White) at Dave W.’s house. (I add the #diy part for effect.)
Below I provide both the basic steps of installing a vanity combo as well as additional, case-specific notes.
*******
Step 1: Setting the Cabinet
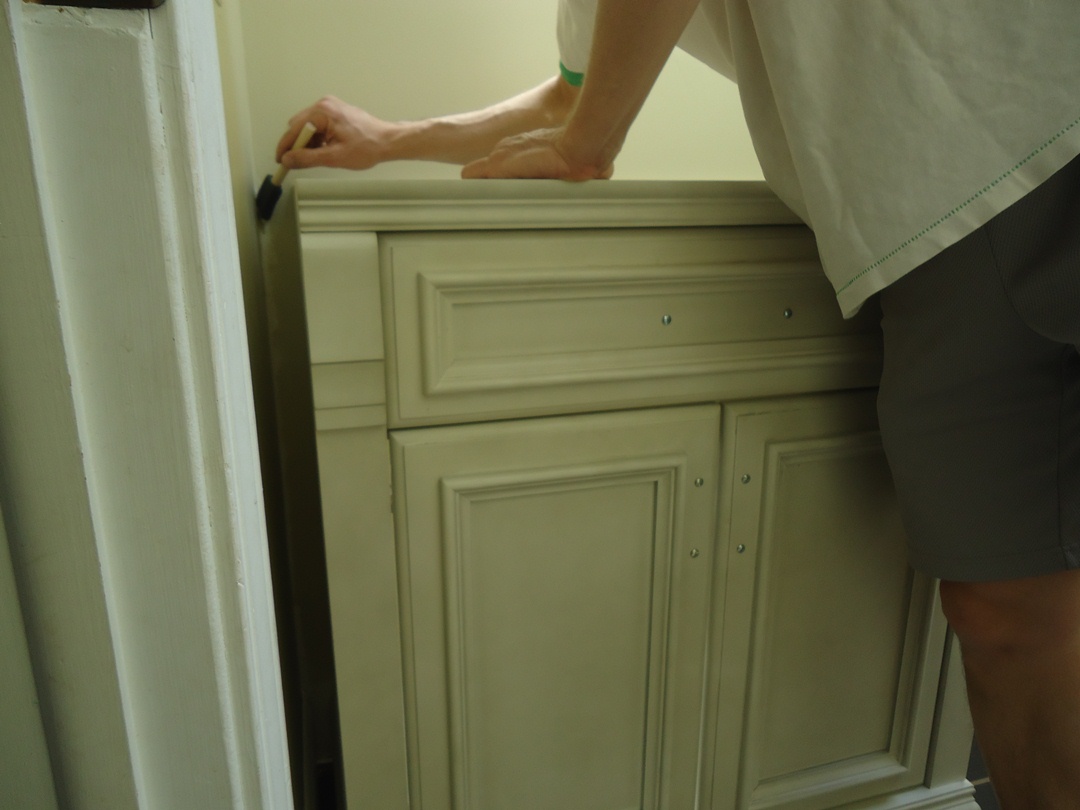
It really didn’t take long to get the unit unpacked and in . . . once we hashed out where we’d place it exactly. We ultimately decided to hold the cabinet roughly two inches off the bathroom’s side wall. (It of course was replacing an existing vanity, and some minor demo, prep and touch-up work was required.)
The cabinet’s open back would make it easy to incorporate the lavatory’s drain that (for Dave) was entering from the wall behind the cabinet. For us, however — we have hot and cold inlets coming up through the floor. We had to, as you could see in this video, modify the cabinet’s base.
A highlight of this remodel, Dave picking a 4×20 wood-grained tile that caught both some of the red and some of the gray tones in the unit’s Avalon top. Each selection for this project was of course keyed off the top (with incorporated white sink), the antique white finish, and the unit’s black hardware and accents. (Props to #diyDaveW on his picks.)
*******
Step 2: Setting the Top
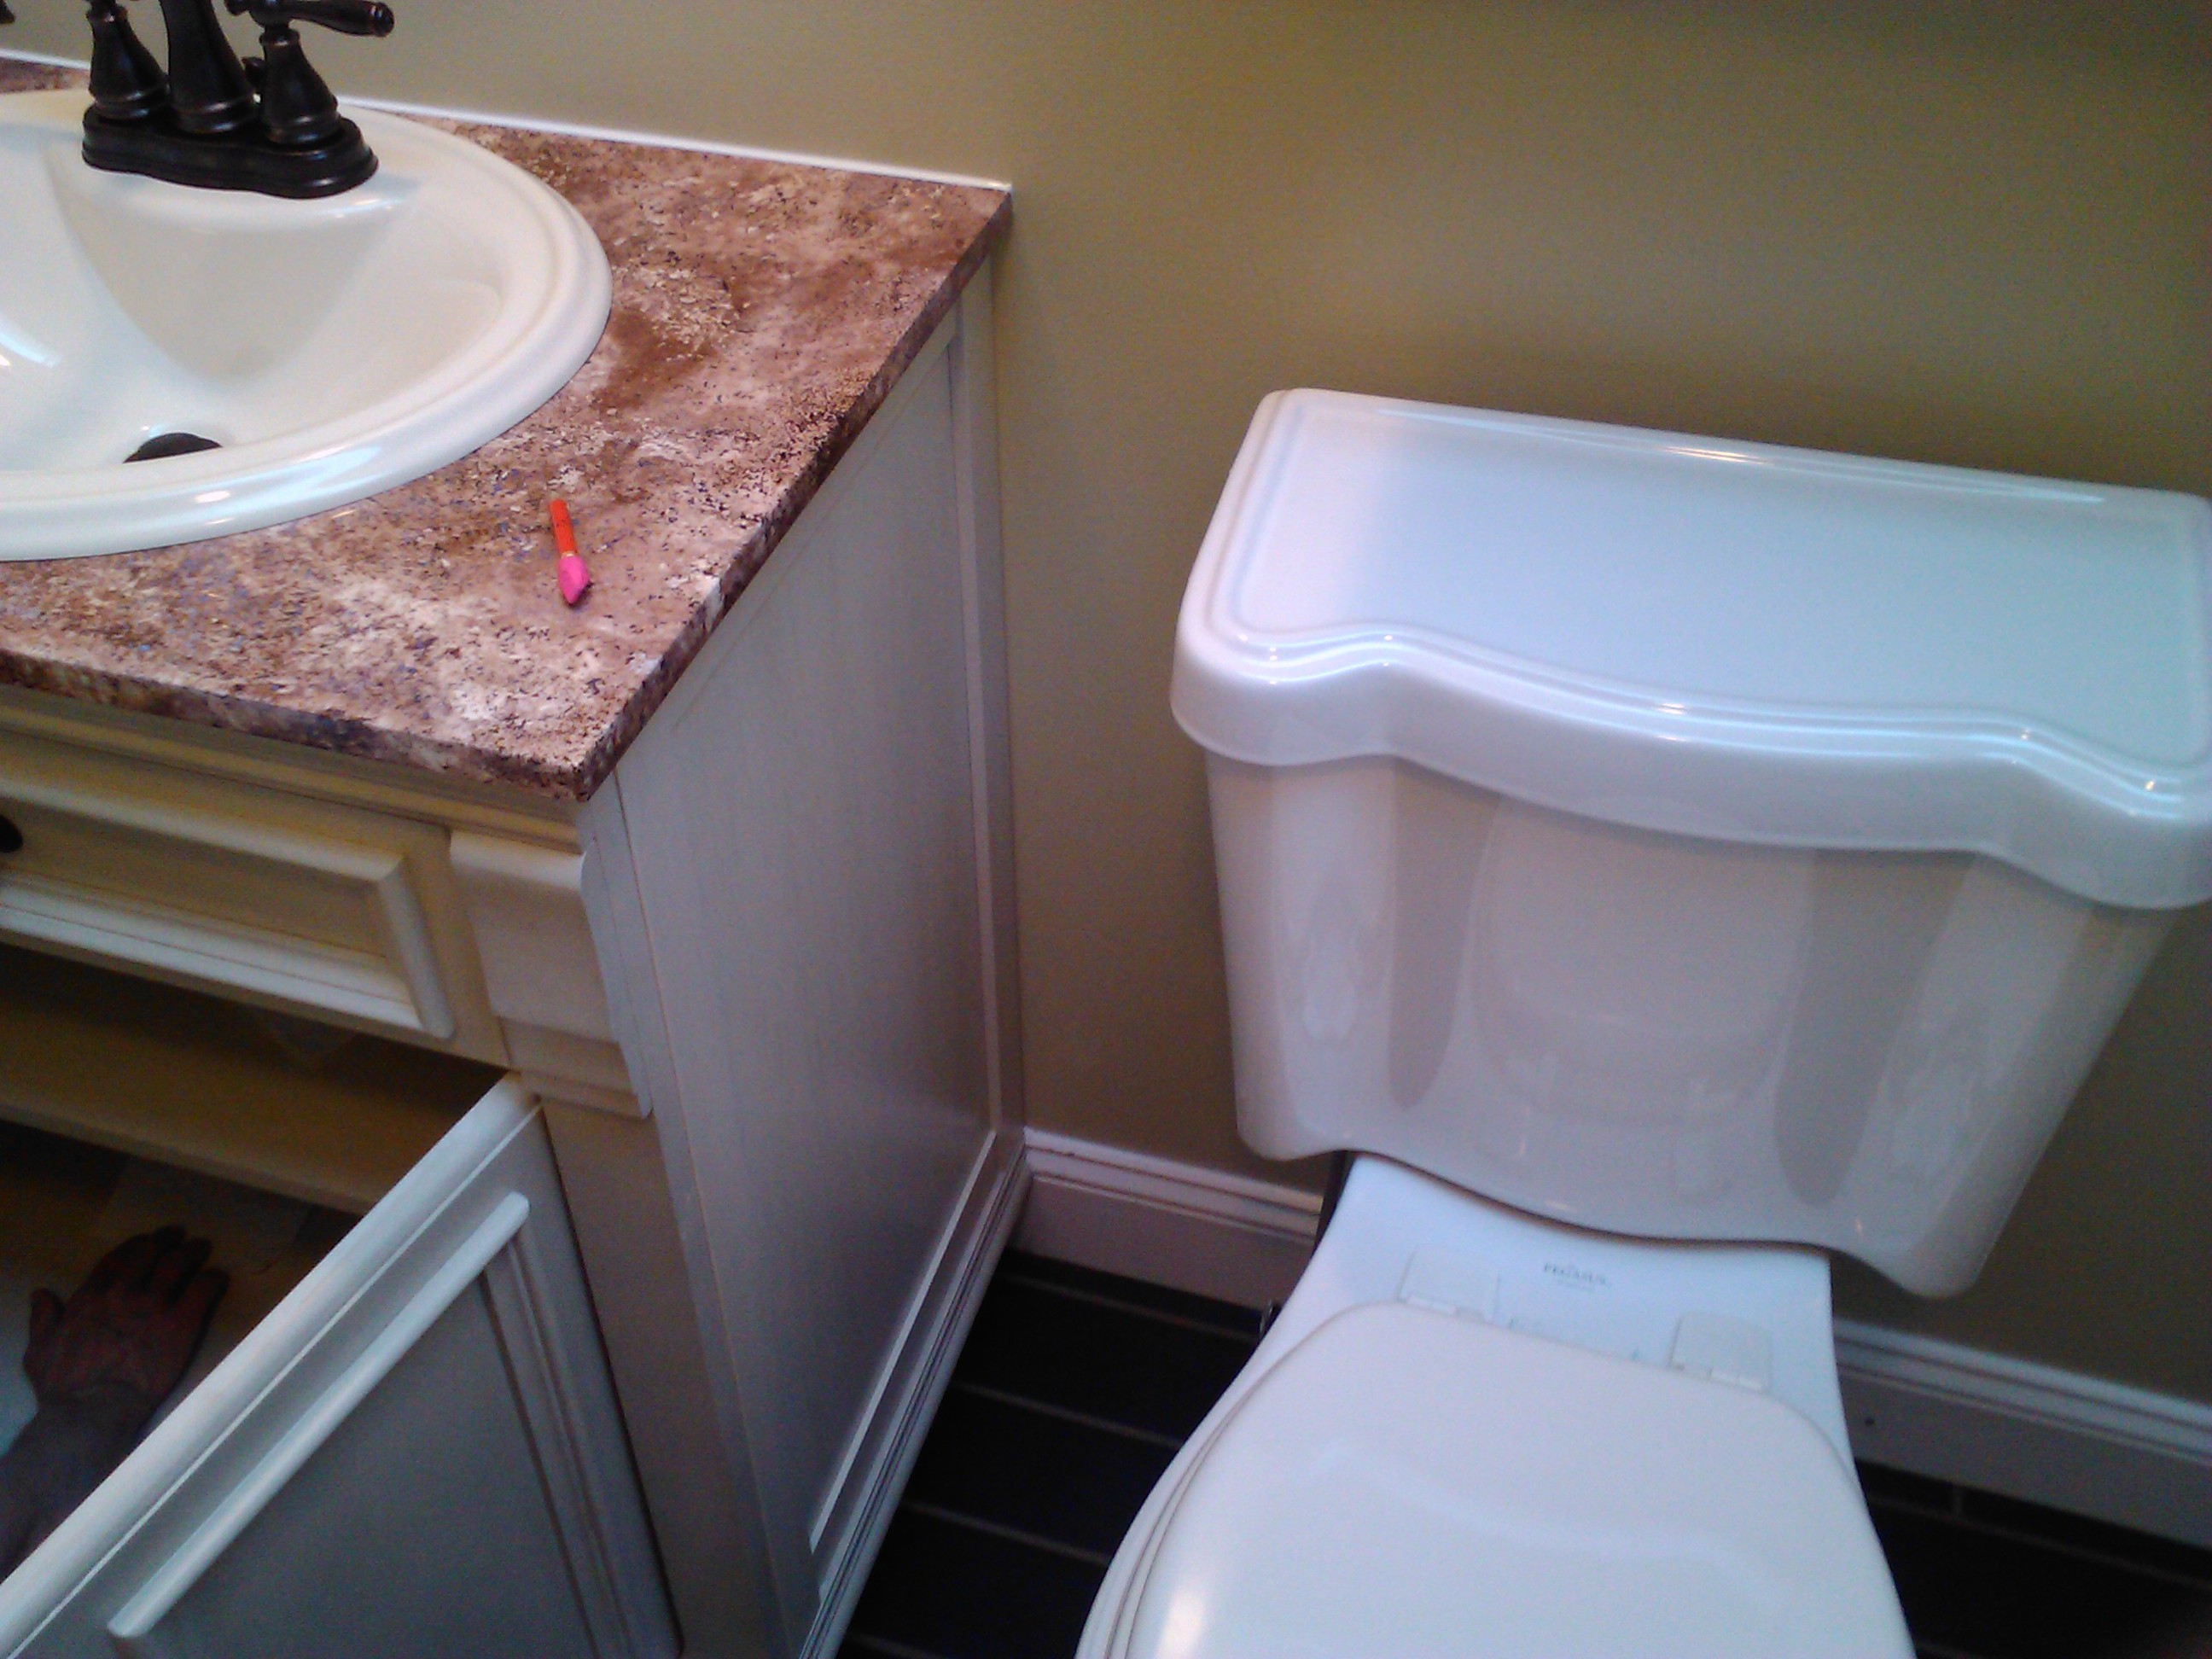
Despite the way I laid it out in video, we actually set the trim to the right of the vanity (behind the toilet) next. In the video above, we made sure to scribe the contour of the cabinet’s leg on a scrap piece of baseboard. This made coping the baseboard in easy. We installed the vanity’s top, only after we installed the Pegasus (WaterSense-rated) 1.28 gpf toilet (pictured).
After mounting the Pfister High Arc Faucet (and pop-up drain) to the top while it still sat on the floor outside the bath, the installation of the top was itself literally a breeze. A thin bead of silicone caulk, set the top, align it and firmly press it down. For added insurance, we clear caulked up under the top, to the outside edge of the cabinet (not shown in the video).
*******
Step 3: Plumbing Connections
I don’t know about you but I usually have the most difficulty at this – maybe not so much the final plumbing connections per se, but with the coordinating them with the vanity’s provided shelf. After a bit of discussion and playing with it, we (actually on a Mrs. Dave recommendation) decided to set the shelf at its highest most available position. (This vanity provided three sets of shelf pin holes to allow for three possible shelving placements.) Simply sliding the shelf forward, and later securing it with provided screws, allowed the flexible hot and cold supply lines to pass unobstructed at the back of the cabinet.
Update: At that point, we should have installed a standard P-trap, drilling at the center of the shelf. But as things were at the time, we did not have the necessary parts to reach, “swing” over to our drain stub out. Consequently, we installed, and my original video showed, a pre-packaged pvc (tubular) S-trap integrated above the unit’s shelf.
Well, as I was reminded by a commenter on YouTube, S-trap installations are prohibited by code. While still sold at home centers (for the rare case when structural considerations allow for no other option), it was a quick “fix” for us here, and though fully functional, was probably still inappropriate. Note: While some plumbers will install and some inspectors may pass a modified S- to P-trap (or the like) and/or while some slight variation integrating an Air Admittance Value (AAV) may in cases be allowable by code, that topic seems somewhat cloudy and even a little controversial.
For these reasons, I removed this portion from my series of videos. I have notified my friend Dave W. and if I can provide a future update for this step I will. Sorry and thanks.
Step 4: The Finish Details
As I mentioned above, we installed the adjacent baseboard immediately after setting the vanity cabinet. For the sake of brevity I broke keys parts of that installation out into the video below.
This video also covers briefly, flipping the unit’s provided hardware (which for packaging’s sake comes mounted toward the inside of the cabinet), as well as a final bead of caulk that should be applied at the vanity top’s back edge.
*******
All and all and hope #diyDaveW. (+ Mrs. Dave) would agree that the project turned out great. The Portfolio Vanity Bar in Oil Rubbed Bronze caught in video was a nice complement to the vanity combo. The project will all be completed with a coordinating mirror that St. Paul also graciously provided, but as far as I know – is not yet installed.
Thanks for reading and I hope this was helpful. ~jb
For full disclosure: While St. Paul provided the vanity featured in this post and in these videos, neither I nor Dave W. were compensated for our work.

Why do I suspect Dave is now loving you? And thanks for all the details as I will refer to this post (and company) once I get to put in the as yet unbuilt new bathroom!
you would think, but it did take an awful long time to coordinate our schedules AND as you know, I can be annoying. Had another friend email this morning offering up their home as a guinea pig. ha! Gonna be doing it again soon with an American Standard faucet. Don’t tell Nora … I just pop in and say, “Hey we are going to put this in!” Kinda like the ghetto man’s Bath Crashers. ha!
We really appreciate all the work JB and Dave W. did. As easy as they made it look, you never know what you’re getting into with these projects.
We’re proud to help out JB and hope that Dave has years of enjoyment from this install.
Very gracious of you. thanks for popping in Sean @StPaul_Home. Last I heard Dave was very pleased and it was a pleasure indeed working with you. ~jb